
Sometimes you might find that for some Civil 3D drawings that you receive or create, they are missing in default styles– the styles that should come with Civil 3D installation. This is especially a problem when you realize that your drawings aren’t displaying properly, such as some of the table bands aren’t showing in Section View or Profile View.
So here are the steps to (re)import default styles into Civil 3D,
Check the original drawing #
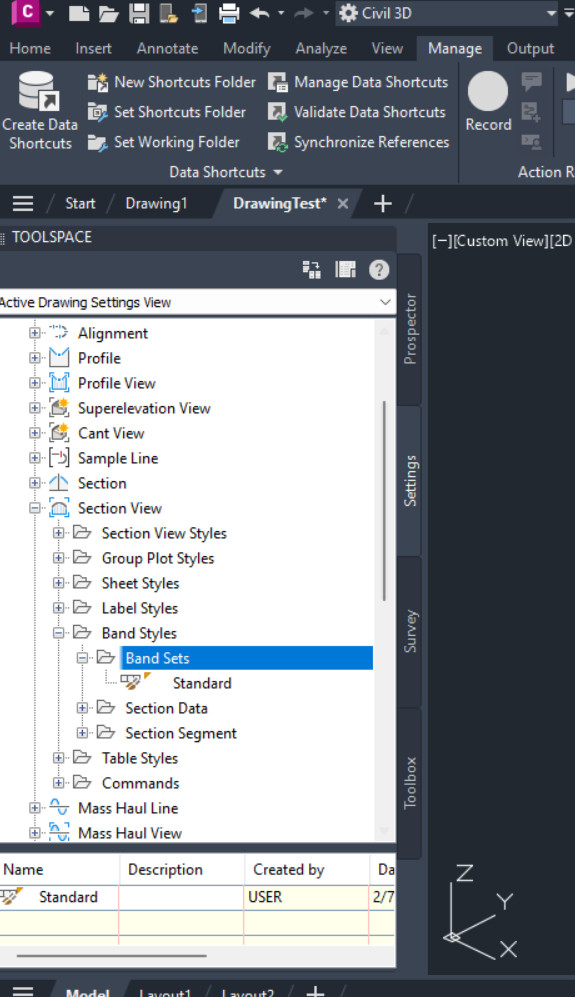
For this drawing, the essential styles and Set Styles are missing. There should be more than 1 Band Set Style for the Section View.
Manage Tab-> Import Button #
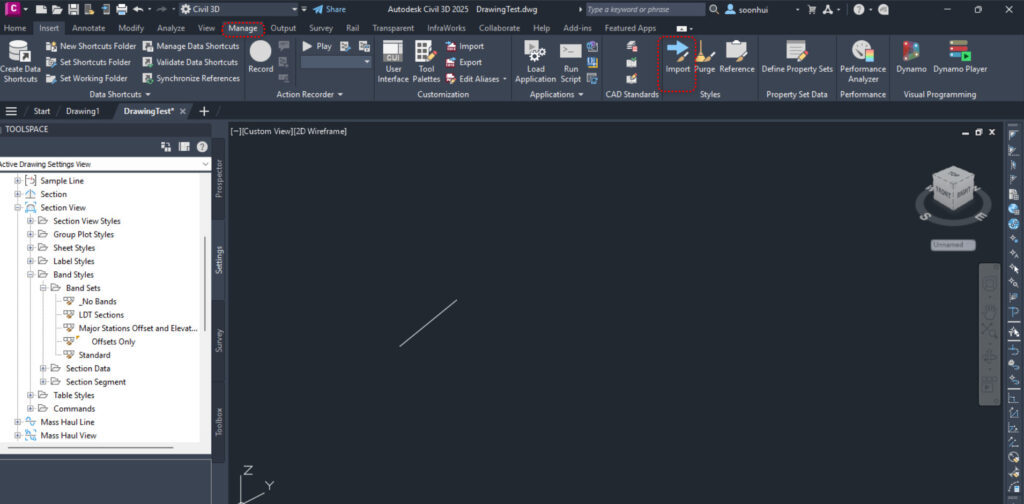
To solve the issue, click on Manage Tab, then Import button
Select the .dwt file #
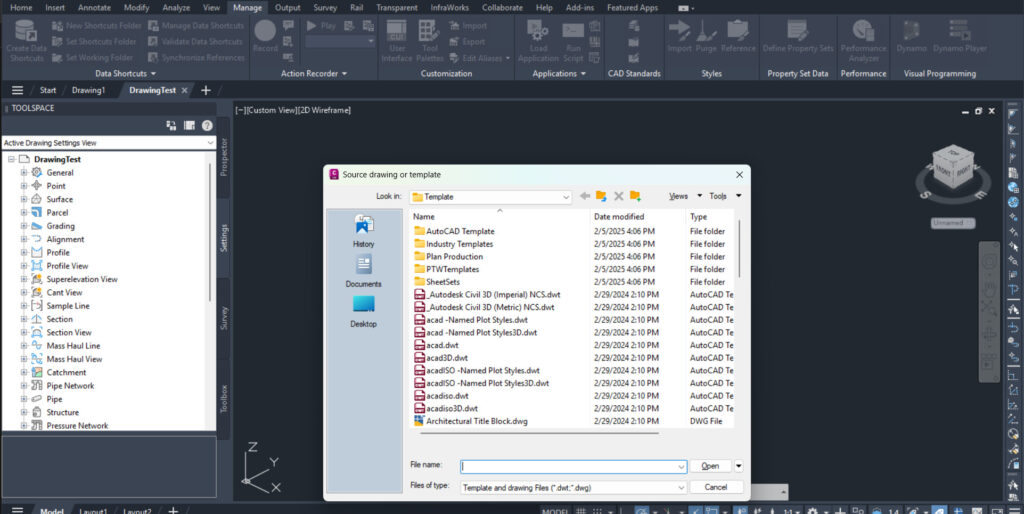
Select the default _Autodesk Civil 3D (Metric) NCS.dwt file located at %localappdata%\C3D 20xx\enu\Template. You can also use your own .dwt file if you want to import in your own styles.
Import #
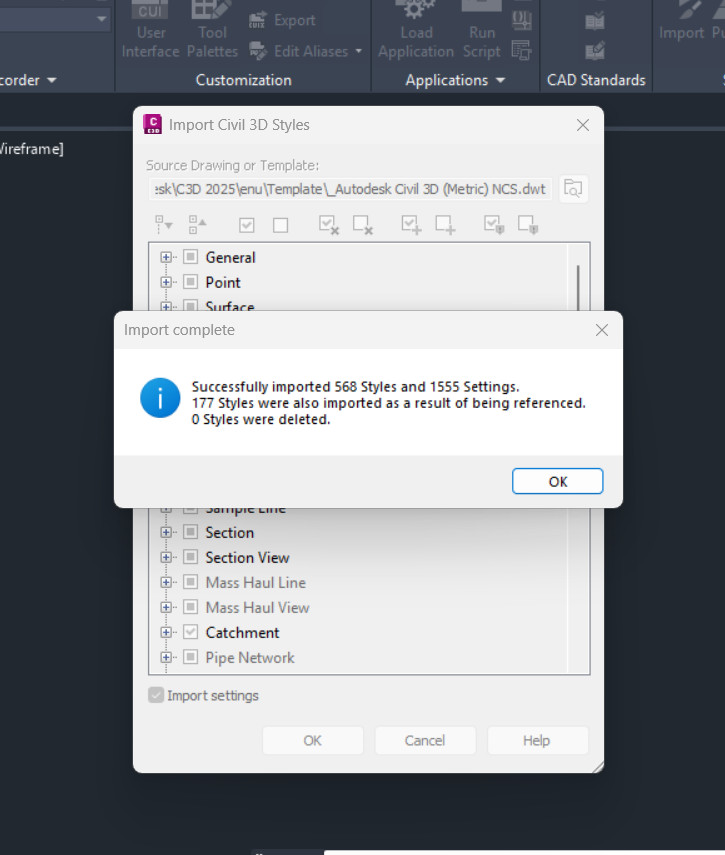
Pick the styles that you want to import. In this case, I just import all.
Verify that the default styles are present #
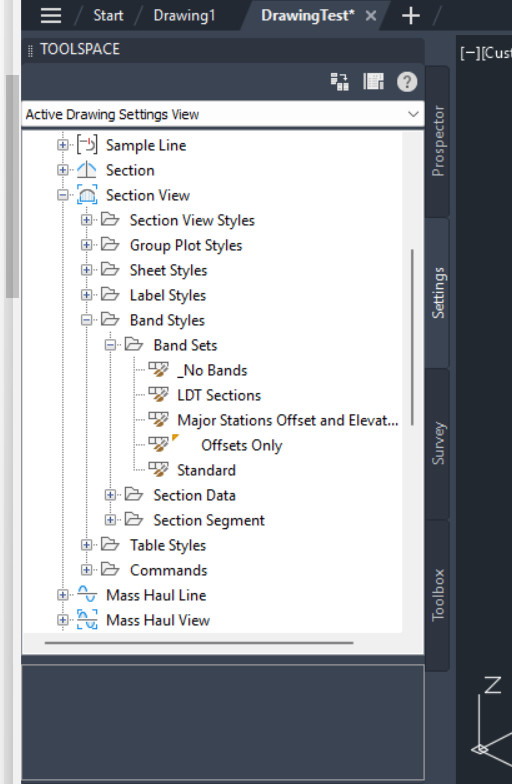
Now verify that the Section View Band Set Styles contain the complete Set Styles.
But I can’t import Parts Lists! #
That’s right, for some reason Parts Lists import fails with the above method (but not Pressure Parts Lists, how very strange!), an empty Style import is what you got

You need to use another way to import Parts List, which is to drop the settings between drawings.
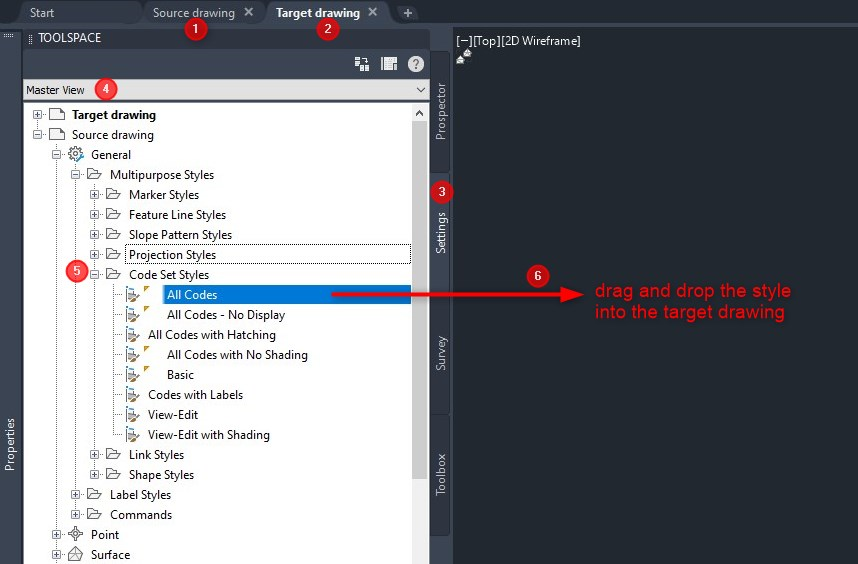
- Open the source Civil 3D drawing, containing desired styles.
- Open new, target drawing.
- In the target drawing, select the Settings tab of the TOOLSPACE palette.
- Choose “Master view” from the drop-down list on top of the palette.
- Expand the settings tree to locate desired styles from the Source drawing ( see the screenshot above).
- Drag them and drop to the Target drawing setting tree or model space.

My passion is in sharing knowledge — Civil 3D or otherwise– with the world.
I’m also the benevolent dictator for life at MES Innovation Sdn Bhd.


